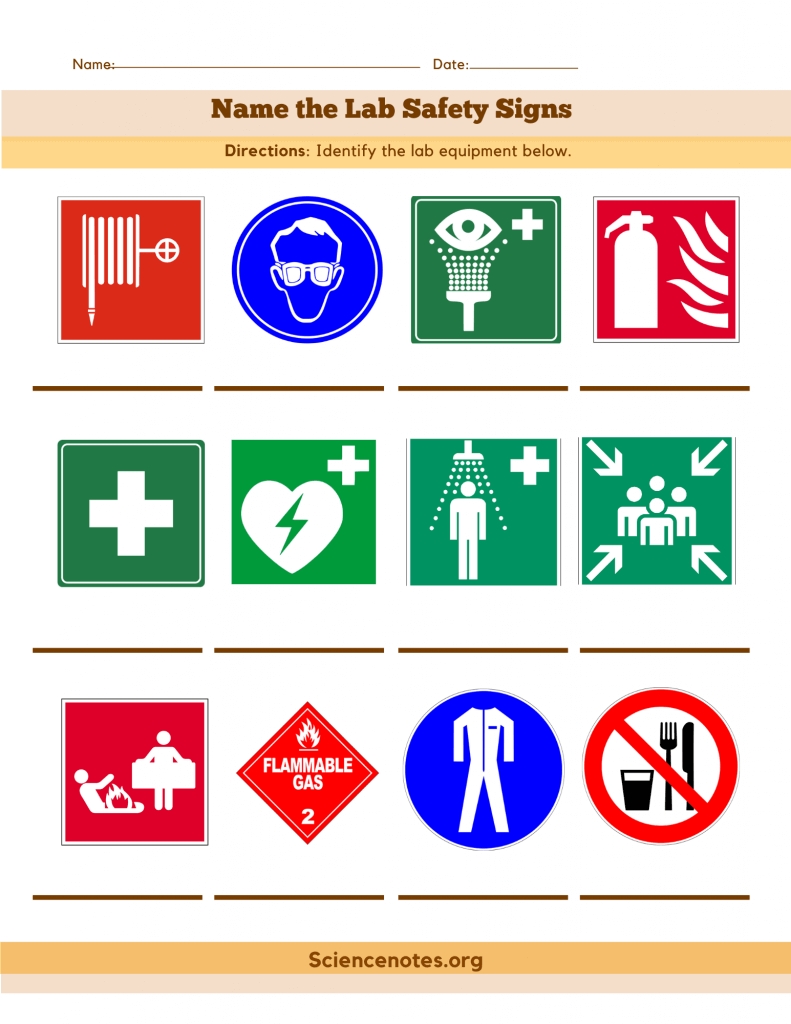
1.How to Use a Lab Safety Symbols Worksheet to Teach Kids About Lab Safety
Using a lab safety symbols worksheet is an effective way to teach kids about lab safety. A lab safety symbols worksheet is a document that provides a visual representation of the various symbols used in the laboratory to indicate potential hazards and instructions on how to handle them safely.
To use the lab safety symbols worksheet, teachers should first introduce the topic of lab safety and explain the importance of following safety protocols in a laboratory. Then, the worksheet can be used to help students identify and understand the meaning of the lab safety symbols. The worksheet should include a definition of each symbol, an example of a situation where the symbol might be used, and instructions on how to respond to the symbol. After the students have a clear understanding of the symbols, the teacher can provide a practical demonstration of how to safely use the lab equipment with the correct safety precautions.
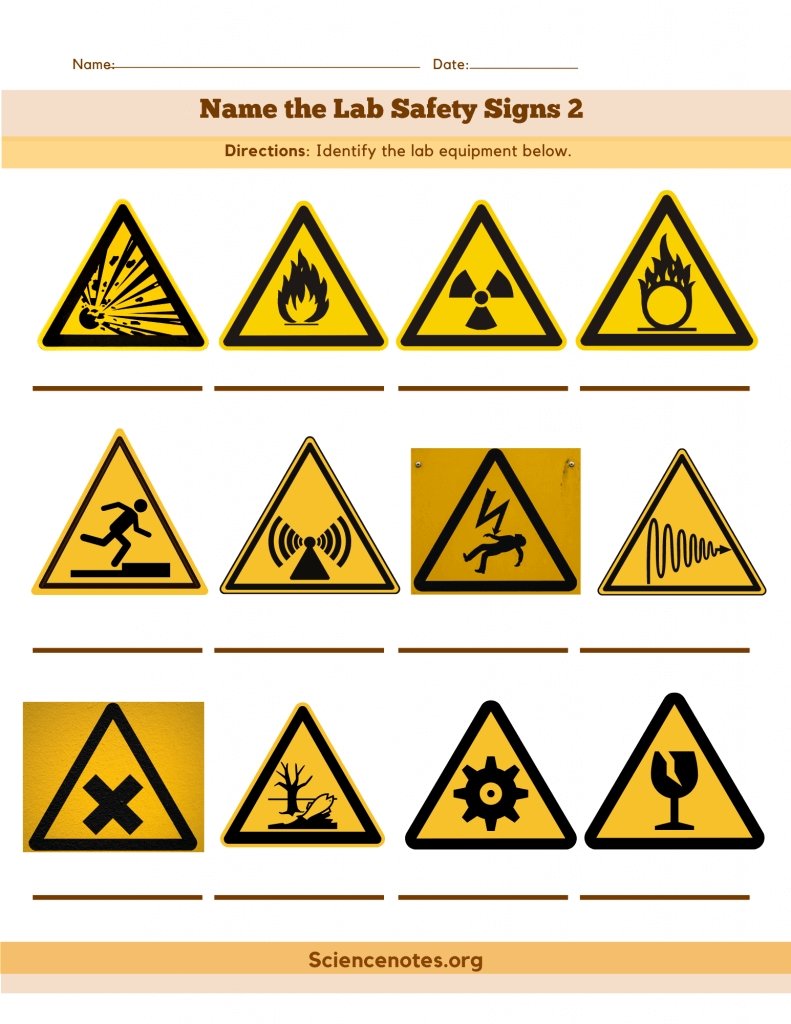
In addition to helping kids learn about lab safety symbols, the worksheet can also be used as a reference guide. By providing a visual representation of the symbols, the worksheet can serve as a reminder for students to be mindful of safety protocols when in the laboratory.
[toc]
By using a lab safety symbols worksheet, teachers can effectively educate their students about lab safety and provide them with the necessary knowledge to remain safe in a laboratory environment.
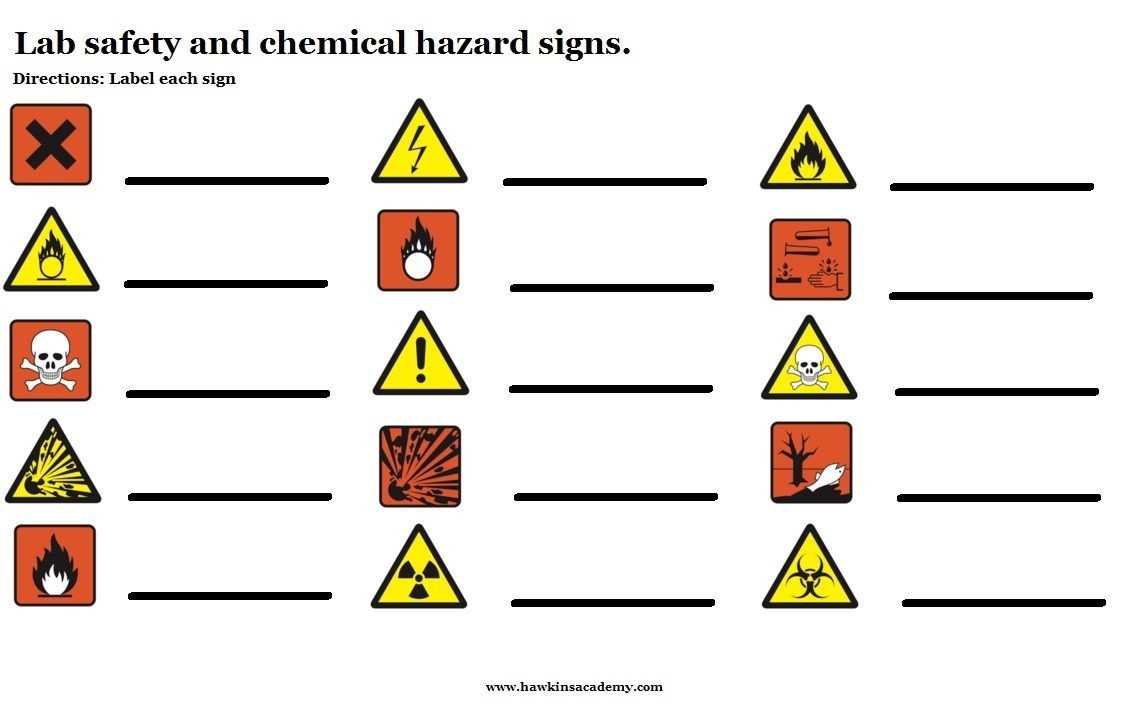
2.The Benefits of Incorporating Lab Safety Symbols in the Science Classroom
Lab safety symbols provide a visual reference that can help students understand the potential risks of working in a laboratory environment. Incorporating lab safety symbols into the science classroom is an effective way to improve student safety and create a better understanding of laboratory procedures.
The use of lab safety symbols can help students become more aware of the potential risks and hazards associated with laboratory work. By looking at symbols such as the skull and crossbones, students can understand that certain chemicals or materials may be dangerous and should be handled with care. Other symbols, such as the explosion symbol, indicate the potential for an explosion or fire hazard. By learning to recognize these symbols, students can be more cautious when conducting experiments.
In addition to making students more aware of potential risks, lab safety symbols can also help to create a better understanding of laboratory procedures. For example, symbols like the goggles and gloves symbol can help students to understand the importance of wearing the proper personal protective equipment when conducting experiments. By providing visual cues for students, lab safety symbols can help to reinforce safety protocols and ensure that students are adhering to proper laboratory procedures.
Overall, incorporating lab safety symbols in the science classroom can help to create an environment of safety and understanding. By familiarizing students with potential risks and reinforcing safety protocols, lab safety symbols can help to ensure that students are better prepared to conduct experiments in the laboratory.
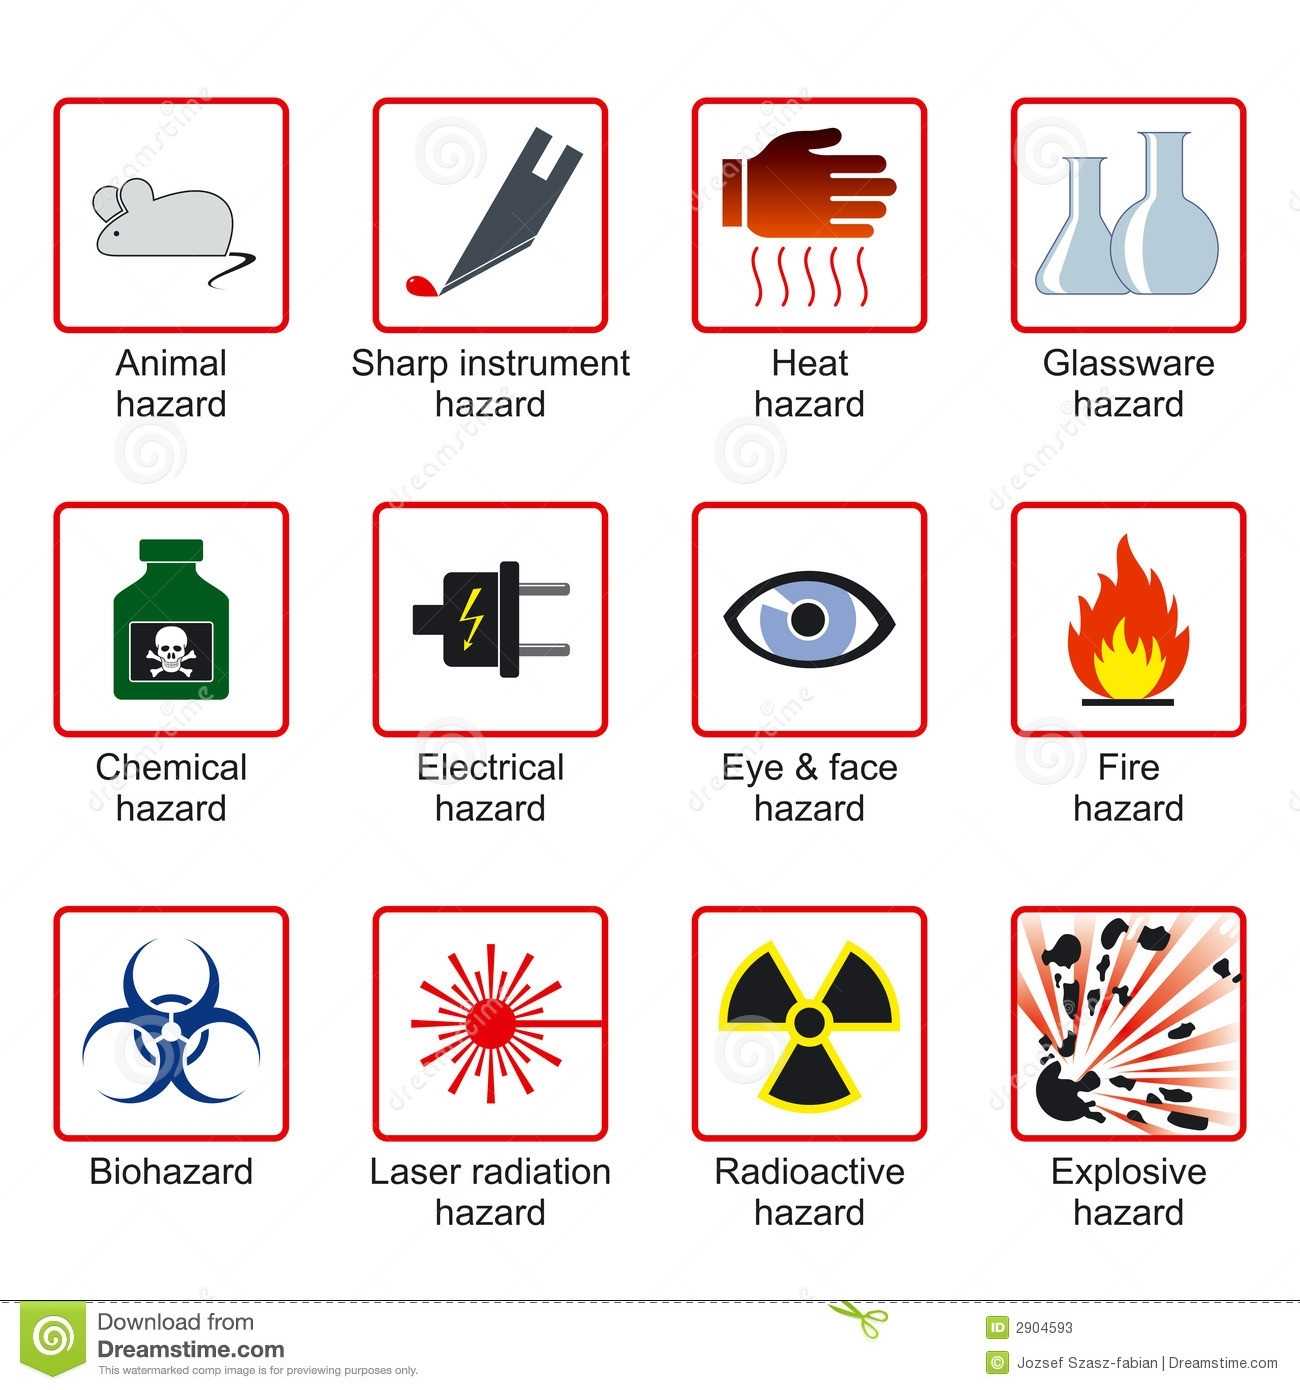
3.Exploring the Different Types of Lab Safety Symbols and Their Meanings
Lab safety symbols are an integral part of laboratory safety protocols and are used to inform personnel of potential hazards. These symbols are designed to be easily recognized and understood by individuals of all backgrounds, so it is important to be familiar with their meanings.
The most common type of lab safety symbol is the biohazard symbol. This symbol consists of a black trefoil outlined in orange and is used to alert personnel of the presence of biological hazards, such as blood, bodily fluids, and other potentially infectious materials.
The radiation symbol is used to warn personnel of the presence of radioactive materials. This symbol consists of three curved lines forming a trefoil, with an orange and black circle in the center.
The flame symbol is used to indicate the presence of flammable materials. This symbol consists of a red flame inside a black circle.
The corrosive symbol is used to alert personnel of the presence of corrosive materials. This symbol consists of a black flask with a yellow exclamation point inside.
The health hazard symbol is used to warn personnel of the presence of hazardous chemicals. This symbol consists of an exclamation point inside a black diamond.
The explosive symbol is used to alert personnel of the presence of explosives. This symbol consists of a black triangle with a red exclamation point inside.
The electrostatic symbol is used to indicate the presence of static electricity. This symbol consists of a lightning bolt inside a black circle.
Finally, the hazard warning symbol is used to indicate the presence of hazardous materials. This symbol consists of an exclamation point inside a yellow triangle.
By familiarizing oneself with these symbols, one can ensure a safe and productive laboratory environment.
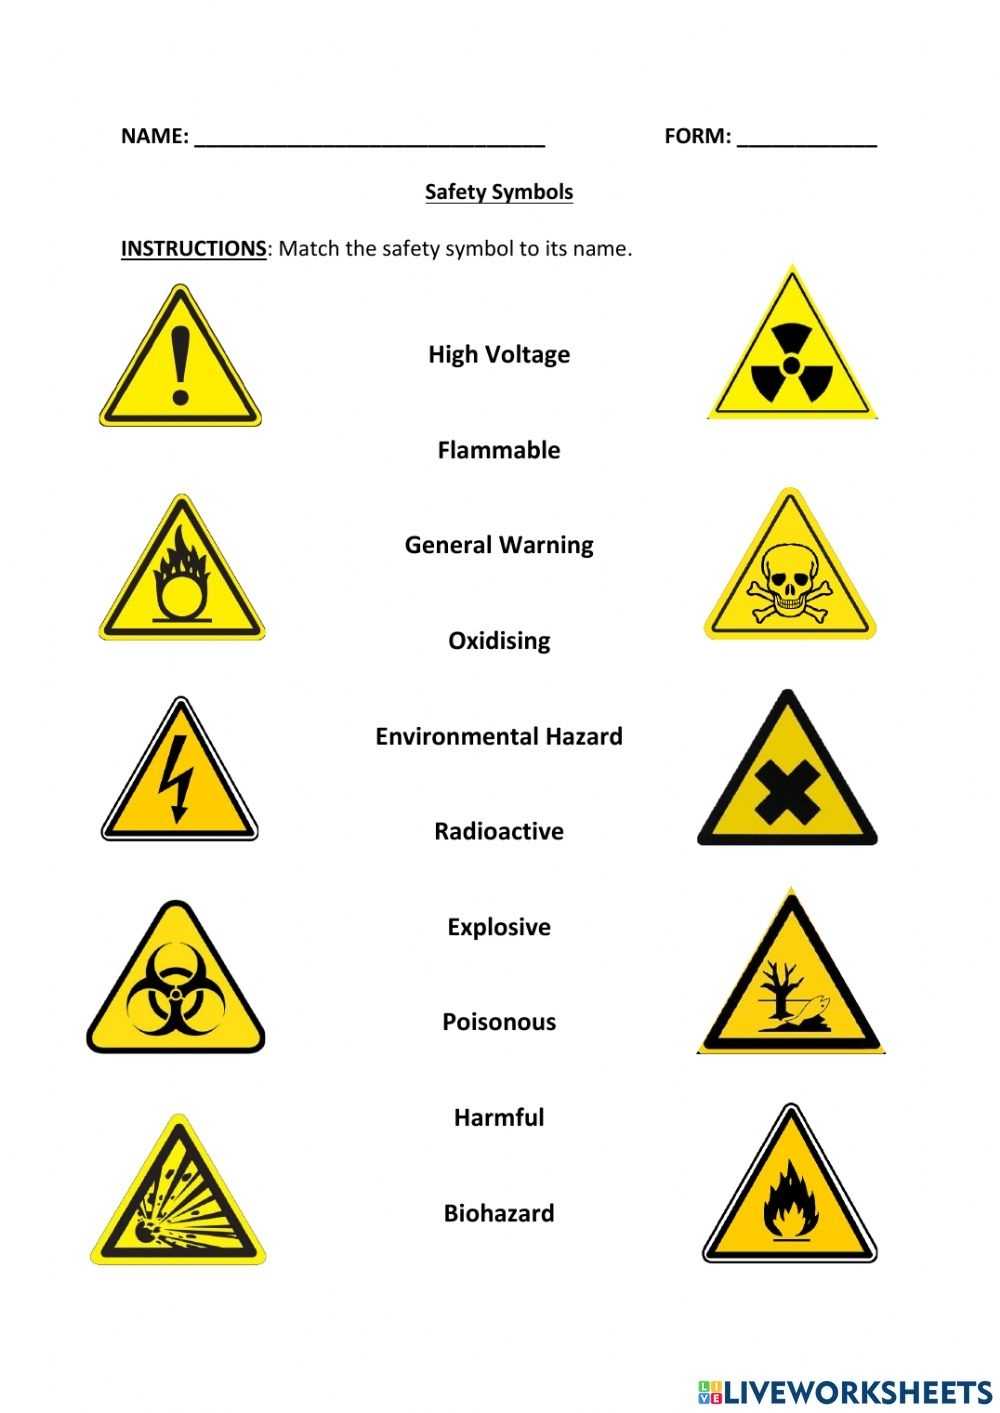
Conclusion
This Lab Safety Symbols Worksheet is an important tool to help students become aware of the various safety symbols and their meanings. This worksheet is a great way to introduce lab safety to students, as it allows them to familiarize themselves with the different symbols and understand the importance of safety in a laboratory setting. By completing this worksheet, students will have a better understanding of the safety symbols and be able to apply them in the laboratory.
[addtoany]
5 photos of the "Lab Safety Symbols Worksheet"
Related posts of "Lab Safety Symbols Worksheet"

Cnn Students News Worksheet
Exploring the Latest Student News from CNN: An Overview CNN is a leading source of news and information for students worldwide. As part of its mission to provide reliable coverage of current events, the media outlet regularly publishes stories related to student-oriented topics. CNN’s student news coverage encompasses a wide range of topics, including college...
The Progressive Era Worksheet
Exploring the Political, Economic, and Social Reforms of the Progressive EraThe Progressive Era (1890s-1920s) was a period of social and political reform in the United States. It was a time of heightened activism and political mobilization, as well as a time of economic and social reform. Progressives sought to create a more equitable and just...

B And D Confusion Worksheet
Examining the Symptoms of B and D Confusion in Early Childhood Education Early childhood education is an important part of a child’s development, and it is important to be aware of any issues that could arise. One of these issues is known as “B and D confusion”. This confusion occurs when a child has difficulty...

Product And Quotient Rule Worksheet
How to Solve Product and Quotient Rule Equations with a WorksheetThe product and quotient rule equations are important concepts of mathematics that allow students to solve problems involving multiple variables. To simplify the process of solving these equations, students can use a worksheet to help them work through the problem. To begin, the student should...