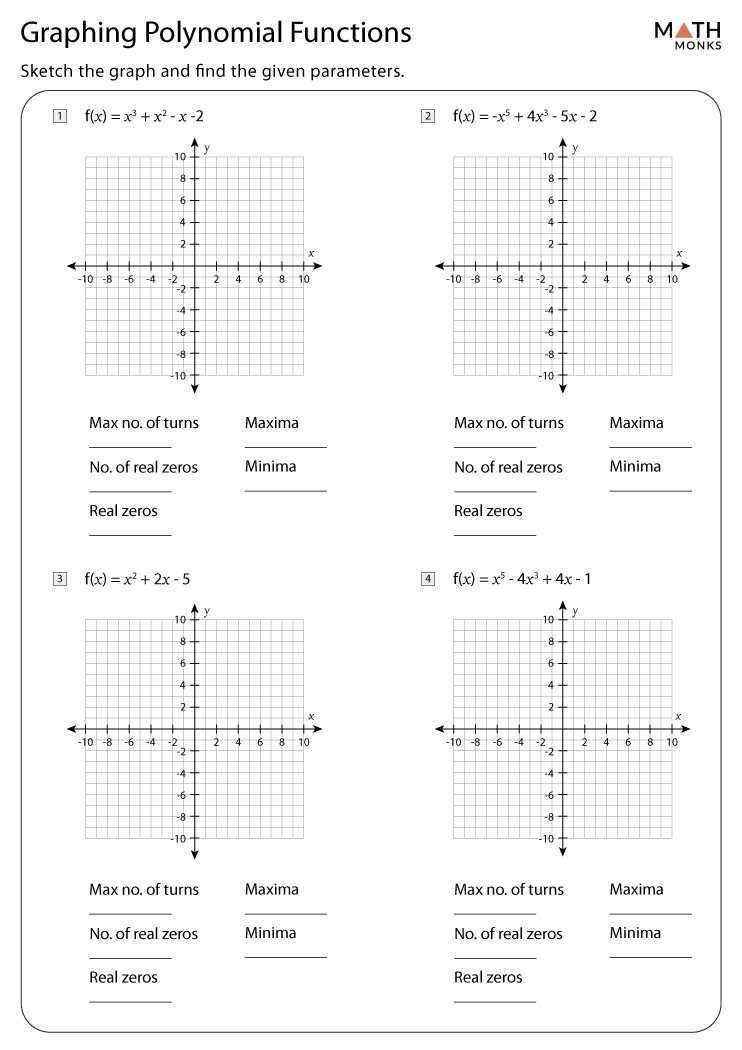
Step-by-Step Guide to Answering Graphing Polynomial Functions Worksheet Questions
Step 1: Familiarize yourself with the basics of polynomial functions. Understand how to graph a polynomial function by plotting points, finding the x-intercepts, and determining its degree.
Step 2: Read the question carefully. Identify which type of polynomial function is being asked about and what information is needed to answer the question.
Step 3: Determine the equation for the polynomial function. Depending on the type of polynomial function, use the appropriate equations to solve for the coefficients.
[toc]
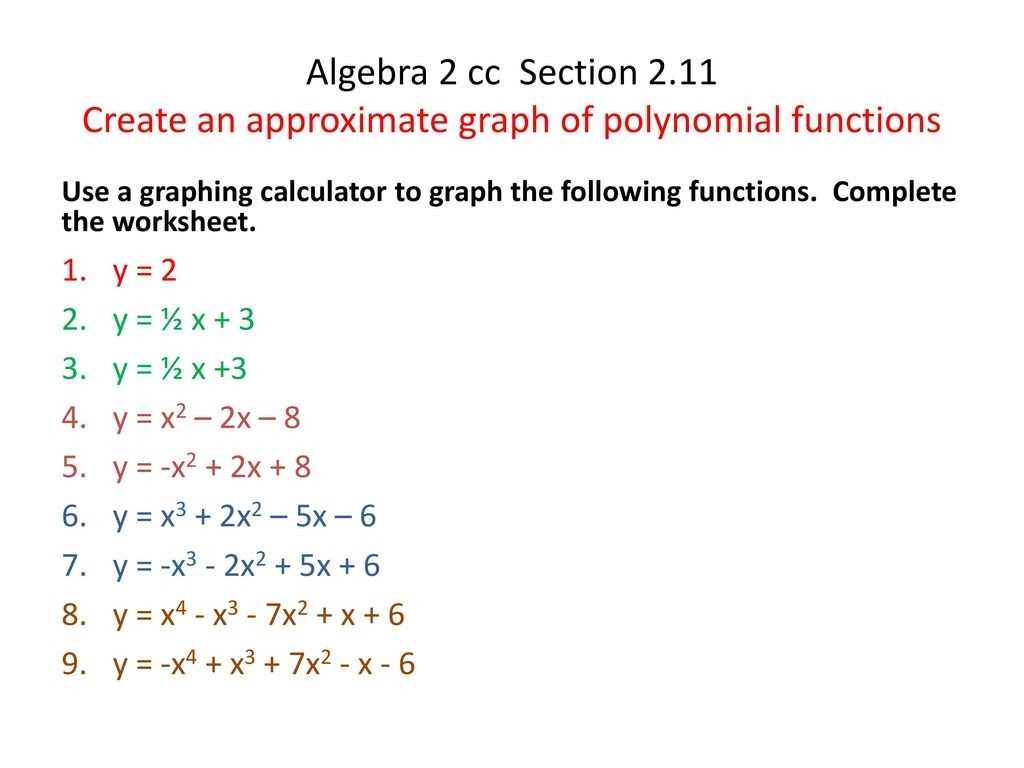
Step 4: Graph the polynomial function. Use a graphing calculator or graph paper to plot the points of the polynomial function.
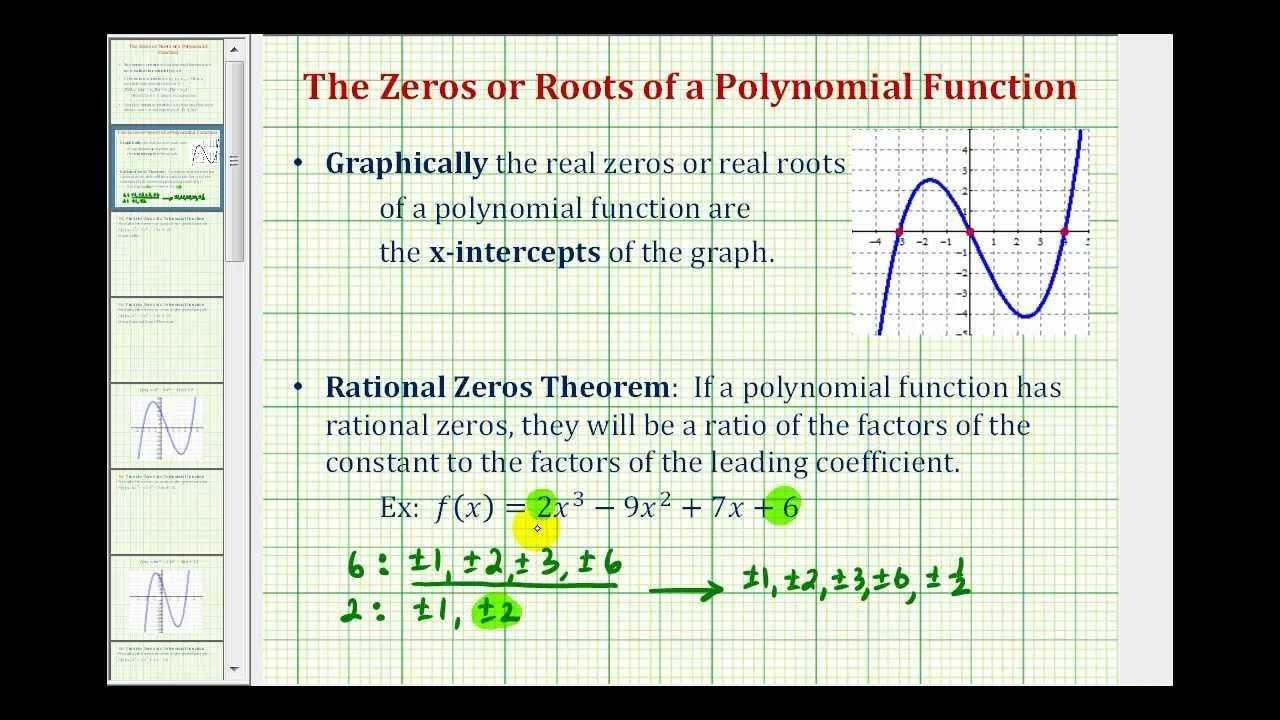
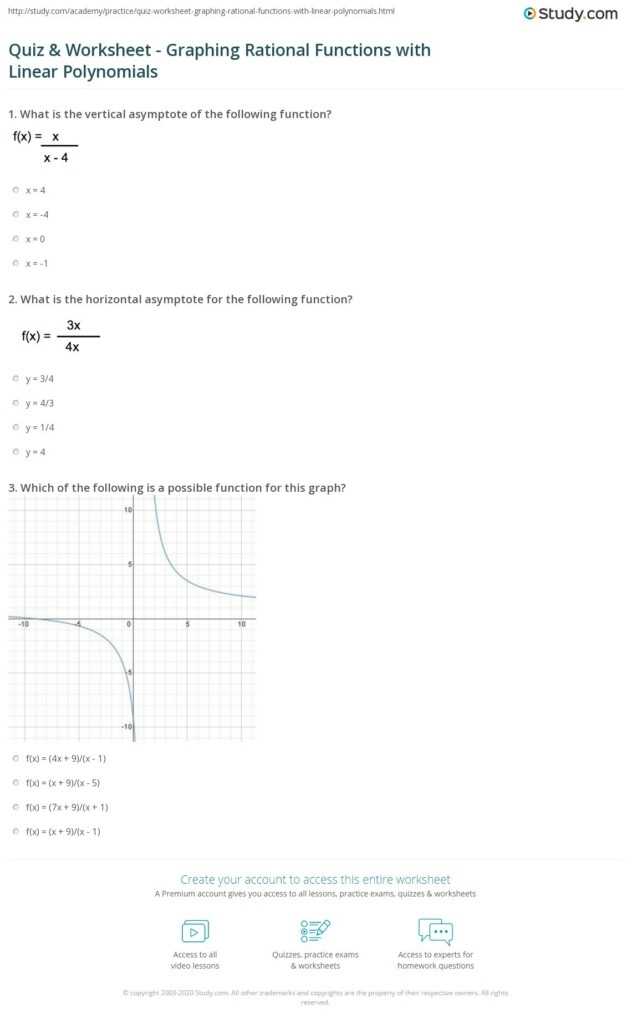
Step 5: Find the x-intercepts of the polynomial function. The x-intercepts are the points at which the graph of the polynomial function crosses the x-axis.
Step 6: Determine the degree of the polynomial function. The degree of a polynomial is the highest exponent of the variable in the equation.
Step 7: Answer the question. Use the information gathered from steps 1-6 to complete the worksheet question.
Understanding the Role of Graphs in Solving Polynomial Functions
Graphs are an invaluable tool when it comes to solving polynomial equations. Graphs provide visual representations of equations, allowing us to gain a better understanding of the equation and the relationship between its variables. With polynomial equations, graphs can be used to identify roots or zeros, which are the values of x for which the equation produces a result of zero.
To begin, a graph of a polynomial equation can be plotted using its coefficients and exponents. The coefficients are used to determine the shape of the graph, while the exponents determine the number of turns or direction of the graph. The graph will be a curved line that passes through each of the points that corresponds to the x and y values of the equation.
Once the graph is plotted, the roots of the equation can be found by finding the points at which the graph crosses the x-axis. The x-coordinates of these points are the roots or zeros of the equation. By determining the roots of an equation, the equation can be solved by factoring or by using the quadratic formula.
Graphs can also be used to determine whether the equation has two, one, or no real roots. If the graph crosses the x-axis twice, then the equation has two real roots. If the graph touches the x-axis once, then the equation has one real root. If the graph does not cross the x-axis, then the equation has no real roots.
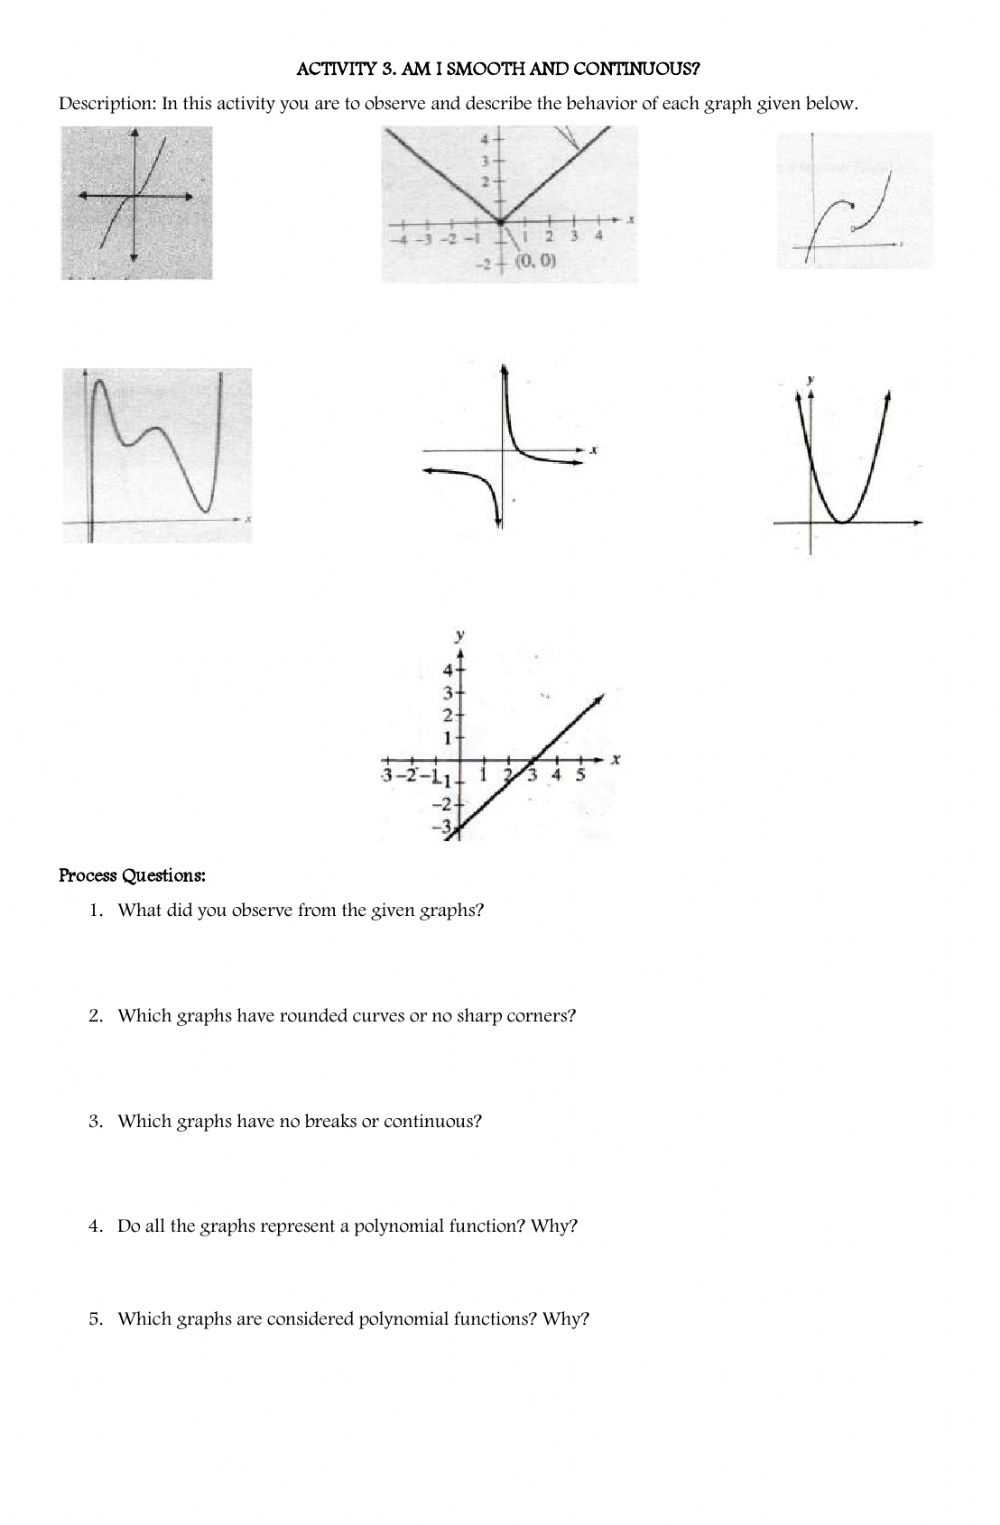
Graphs can also be used to determine the degree of a polynomial equation. The degree of an equation is the highest exponent of the equation. If the graph of an equation has two turns, then the equation is a second-degree polynomial. If the graph has three turns, then the equation is a third-degree polynomial.
Graphs are an effective way to gain insight into polynomial equations. By plotting a graph and studying its shape, a person can determine the roots, degree, and number of real roots of an equation. In addition, graphs allow us to gain an understanding of the equations in an intuitive and visual way.
Exploring the Benefits of Graphing Polynomial Functions Worksheets for Students
Graphing polynomial functions worksheets are a valuable tool for students of all ages. These worksheets can help students gain a more comprehensive understanding of polynomial equations and how to graph them. By understanding the fundamentals of graphing polynomial functions, students can develop an improved understanding of the basic principles of algebraic equations and how to use them in problem-solving.
Graphing polynomial functions worksheets can be used to teach students how to graph a variety of polynomials. By utilizing these worksheets, students can learn how to graph functions such as linear equations, quadratic equations, and higher degree polynomials. Through exploration and practice, students can gain a better understanding of the properties of polynomials and how to graph them in different situations.
Graphing polynomial functions worksheets can also help students become familiar with the process of graphing polynomials. These worksheets can be used to explain the process of graphing a function by breaking it down into steps. By providing students with a step-by-step process, they can better understand how to graph a polynomial equation in different contexts.
Graphing polynomial functions worksheets can also help students develop the ability to interpret the results of their graphs. By exploring the different shapes and patterns that can be created by graphing a polynomial, students can develop an improved understanding of the properties of the equation and gain insight into how to use the equation in various contexts.
Graphing polynomial functions worksheets can also provide students with additional practice in solving polynomial equations. By exploring the different methods of graphing polynomials, students can develop a better understanding of the different methods for solving polynomials and gain a more comprehensive understanding of the underlying principles of algebra.
Graphing polynomial functions worksheets can be a valuable tool for students of all ages. By providing students with a comprehensive exploration of the properties of polynomials and how to graph them in different contexts, students can gain a better understanding of the fundamentals of algebraic equations and how to use them in problem-solving.
Conclusion
The Graphing Polynomial Functions Worksheet Answers is a great tool for helping students practice graphing polynomial functions. By completing the worksheet, students gain a better understanding of the fundamentals of graphing polynomial functions, such as the shapes of the curves, the intercepts, and the zeros. This knowledge can be applied to many real-world problems, such as predicting the trajectory of a projectile or graphing the trajectory of a satellite. Ultimately, understanding polynomial functions can help students gain a better understanding of mathematics and its applications.
[addtoany]
5 photos of the "Graphing Polynomial Functions Worksheet Answers"
Related posts of "Graphing Polynomial Functions Worksheet Answers"

Cell Cycle And Mitosis Worksheet
How the Cell Cycle and Mitosis Worksheet Can Help Students Better Understand the Basics of Cell BiologyThe Cell Cycle and Mitosis Worksheet is an invaluable tool for students studying the basics of cell biology. It provides a comprehensive overview of the different stages of the cell cycle, as well as the processes involved in mitosis....
Balancing Equations Worksheet Answers
How to Understand Balancing Equations Worksheet Answers for Different Chemistry TopicsBalancing equations worksheets are a useful tool for students of all levels of chemistry. These worksheets provide an opportunity for students to practice solving chemical equations, a fundamental concept in the field. Balancing equations worksheet answers vary depending on the topic, but in general, there...
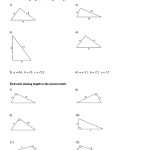
Pythagorean Theorem Worksheet 8th Grade
How to Use a Pythagorean Theorem Worksheet 8th Grade to Help Students Master the Concept Using a Pythagorean Theorem Worksheet 8th Grade to help students master the concept of the Pythagorean Theorem can be an effective tool for teaching this important mathematics concept. Through this worksheet, students can practice solving a variety of problems using...
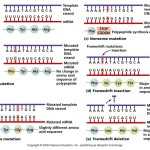
Dna Mutation Practice Worksheet Answers
Understanding the Role of DNA Mutation Practice Worksheet Answers in Genetic DisordersDNA mutation is an important factor in the development of genetic disorders. It is a change in the sequence of nucleotides within a gene, leading to the alteration of the gene's function. Mutations can occur spontaneously or can be inherited from a parent. The...