How to Read a Thermometer Worksheet: A Step by Step Guide
Step 1: Prepare the Thermometer
Before you begin reading a thermometer, make sure that you have the correct type of thermometer for the task. Make sure that the thermometer is clean, that it is in good working order and that the mercury is at room temperature. If the thermometer is a mercury thermometer, be sure to shake it down to ensure that the mercury is below the scale before you begin.
Step 2: Read the Scale
The thermometer scale, or range, should be clearly visible on the side or stem of the thermometer. It could be represented in either Celsius or Fahrenheit, depending on the type of thermometer. Read the scale to determine the range of temperatures that the thermometer is capable of measuring.
Step 3: Determine the Temperature
Locate the end of the mercury column or the digital indicator and note the temperature that is shown. This number is the temperature of the object or environment being measured.
[toc]
Step 4: Check Accuracy
If possible, compare the thermometer reading with another thermometer to make sure that it is accurate. If the two readings are not within a few degrees of each other, recalibrate the thermometer or check for other sources of error.

Step 5: Record the Temperature
Once you have determined the temperature, record the reading in a notebook or other appropriate format. Make sure to include the date and time of the reading, as well as any additional information that may be relevant.
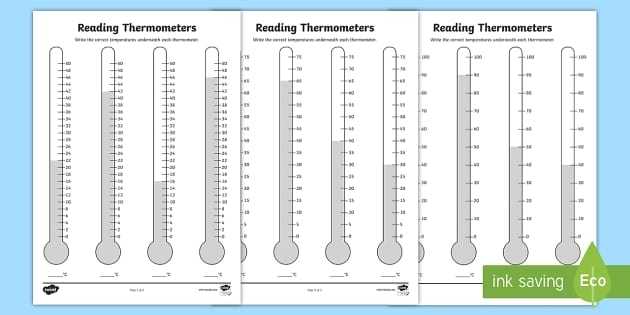
Exploring Temperature Measurement with a Thermometer Worksheet
Temperature is a fundamental element of our physical environment, and thermometers are an essential tool for measuring it. This worksheet seeks to explore temperature measurement using a thermometer.
First, it is important to understand the basic components of a thermometer. A thermometer is composed of a tube filled with a liquid, typically mercury or alcohol. A temperature scale is displayed along the side of the tube, and a metal bulb with a thin stem is attached to the end of the tube. As the temperature changes, the liquid expands or contracts, causing the metal bulb to move along the temperature scale.
Next, it is important to understand the basics of taking a temperature reading. To take a temperature reading, the metal bulb of the thermometer should be placed in an area of the body that is away from any external sources of heat, such as the armpit for oral thermometers and the ear canal for tympanic thermometers. Once the thermometer is in place, wait for a few minutes for the temperature to stabilize before reading the value on the temperature scale.
Finally, it is important to understand the factors that can influence the accuracy of temperature readings. The accuracy of thermometer readings can be affected by external factors such as temperature changes in the environment, or internal factors such as the age and condition of the thermometer. It is therefore important to consider these factors when taking a temperature reading.
In conclusion, this worksheet has provided an overview of temperature measurement with a thermometer. By understanding the components of a thermometer, the basics of taking a temperature reading, and the factors that can influence the accuracy of temperature readings, it is possible to obtain reliable and accurate temperature measurements.
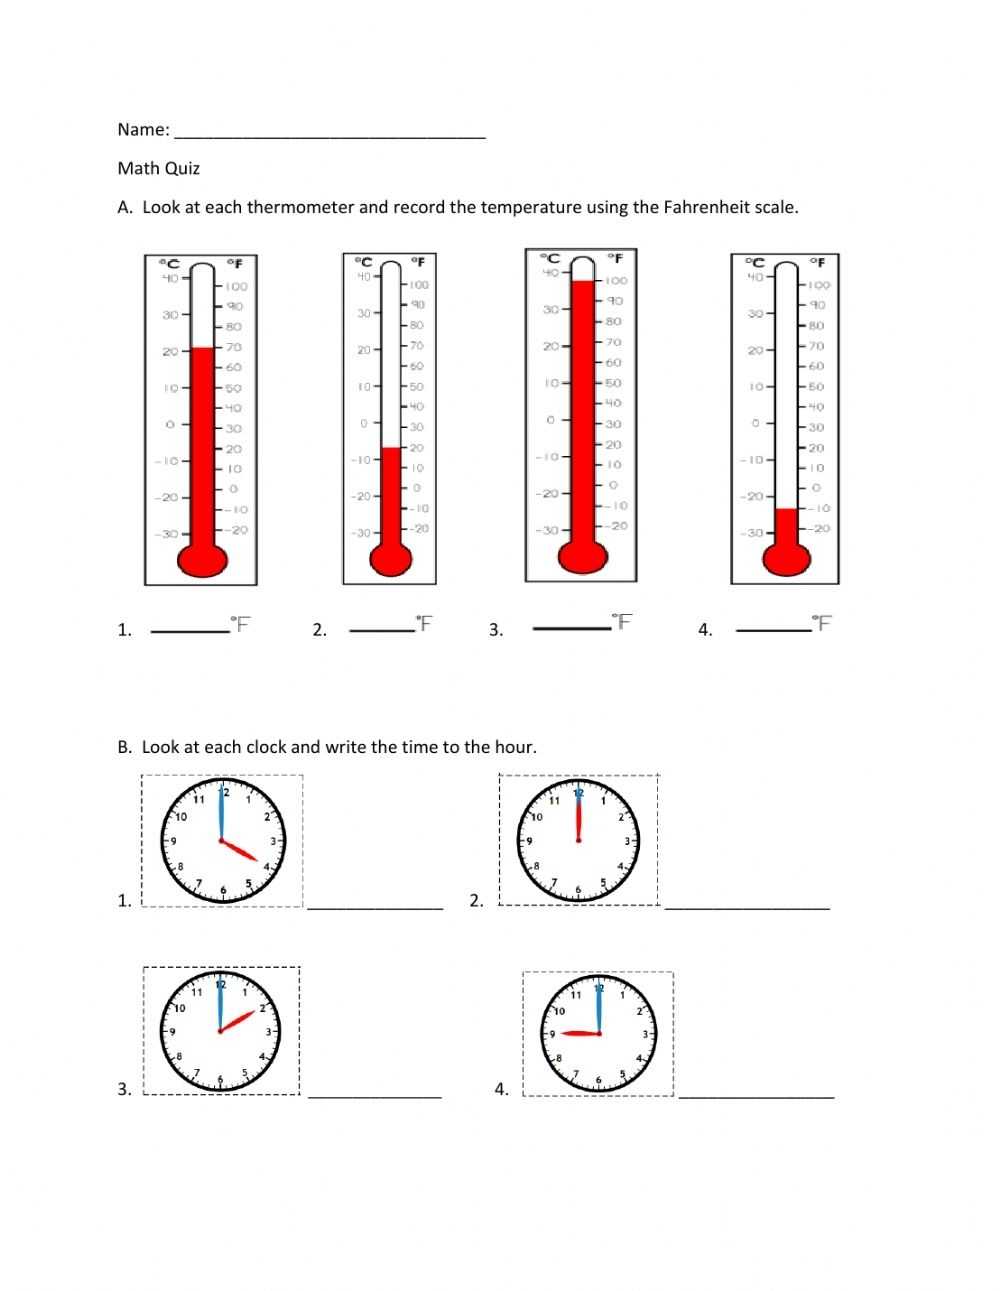
Making Sense of Celsius and Fahrenheit: A Thermometer Worksheet
Understanding temperature measurements can be a tricky concept for students. Fortunately, with a thermometer worksheet, students can gain a better understanding of the differences between Celsius and Fahrenheit.
This worksheet provides students with a visual tool to help them comprehend the differences between Celsius and Fahrenheit. The worksheet consists of a thermometer graphic and a set of instructions. The thermometer graphic consists of two scales, one for Fahrenheit and one for Celsius. Each scale is divided into degrees and is marked with the appropriate temperature readings. The instructions provide information on how to read and convert temperatures between the two scales, which can help students understand the concepts of Celsius and Fahrenheit.
The instructions also provide an example of how to use the thermometer to solve a simple problem. For example, if a student wants to know what the temperature is in both Celsius and Fahrenheit, they can use the thermometer to get their answer. By looking at the thermometer, they can see that the temperature is 25 degrees Celsius, which is equivalent to 77 degrees Fahrenheit.
This thermometer worksheet is an effective tool for helping students understand the concepts of Celsius and Fahrenheit. By providing a visual representation of the two scales, the worksheet helps students understand the numerical values and the differences between Celsius and Fahrenheit. In addition, the instructions provide students with a simple example that can be used to demonstrate how the thermometer works. With this worksheet, students can gain a better understanding of temperature measurements and be better prepared to use these measurements in everyday life.
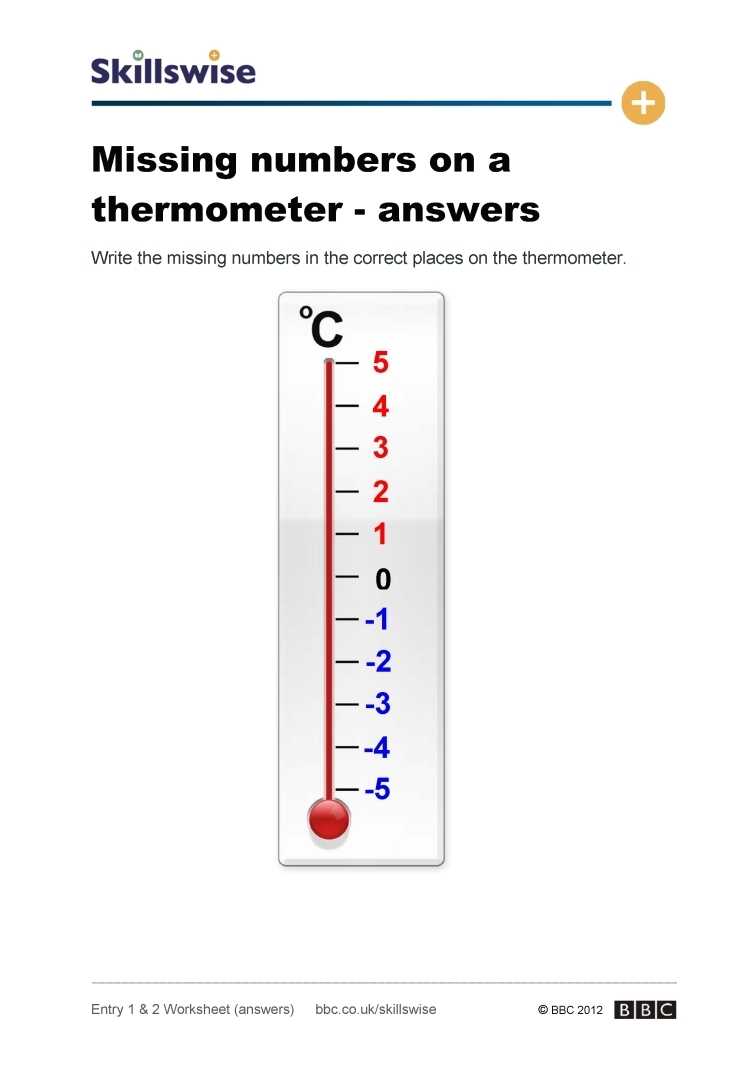
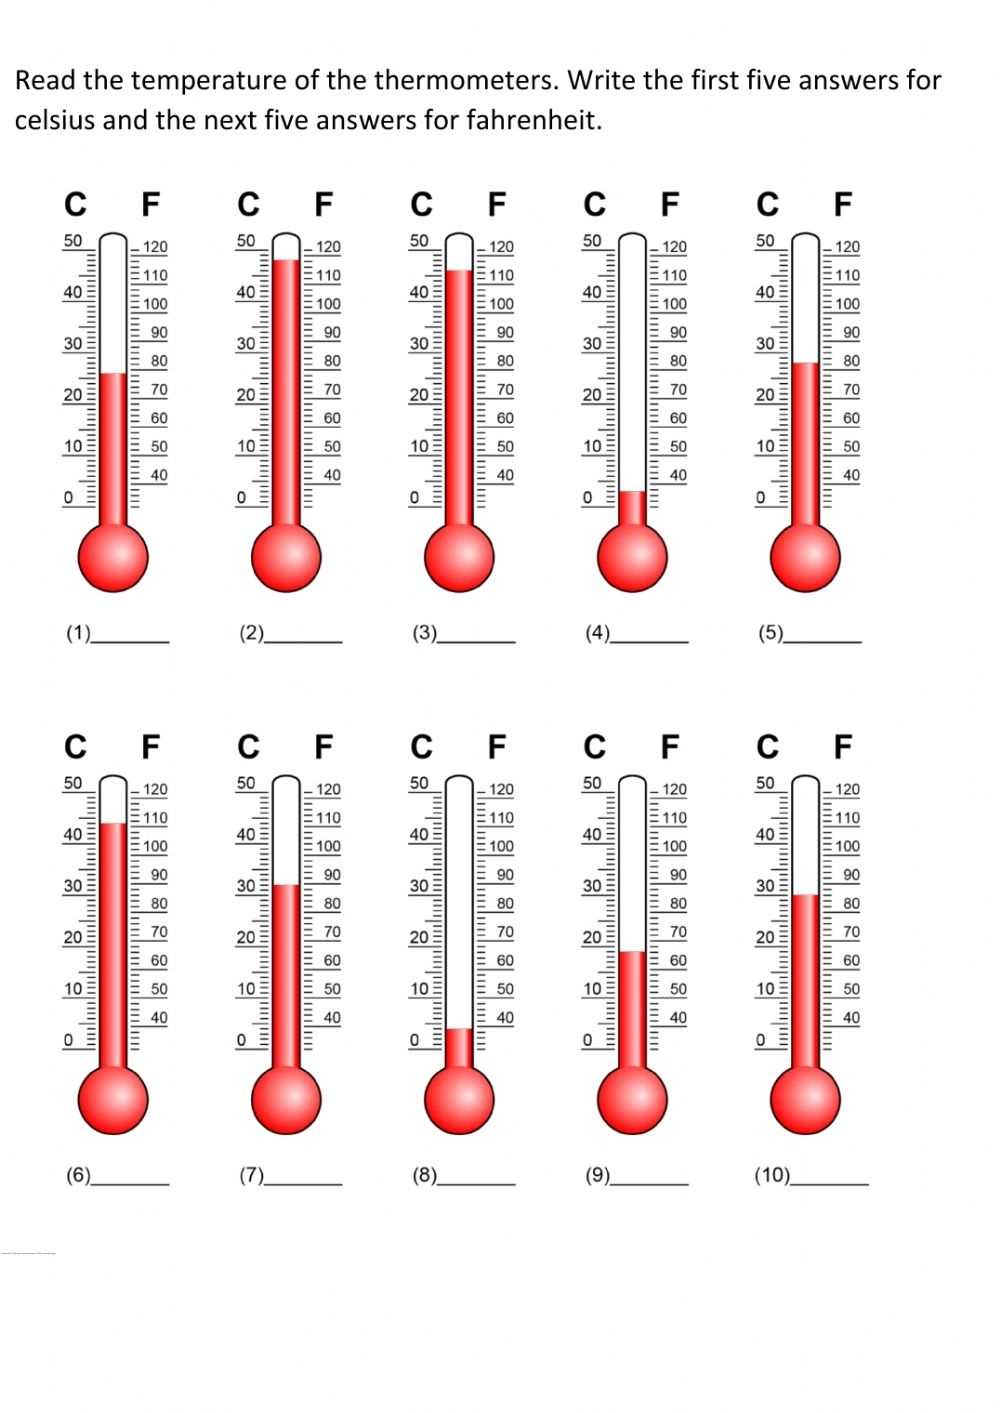
Using a Thermometer Worksheet to Understand Temperature Conversion
Temperature conversion can be a difficult concept for many to understand. Fortunately, with the help of a thermometer worksheet, this process can be made easier.
A thermometer worksheet is a visual aid that helps to illustrate the concept of temperature conversion. It consists of two scales, one in Celsius and the other in Fahrenheit. Along the top of the worksheet are labeled lines corresponding to the various temperature measurements, such as boiling and freezing points.
The worksheet also contains a number of circles, each representing a given temperature. This is where users should mark the temperature for which they want to convert. For each circle, there are two lines below it, one for Celsius and one for Fahrenheit. The user must then draw a line from the circle to the proper temperature line on the respective scale.
Once the user has marked the desired temperature, they should look at the numbers along the scale. This will give them the conversion from Celsius to Fahrenheit or vice versa. It is important to note that the temperature conversion is not always exact. This is due to the differences between the two scales.
By using a thermometer worksheet, users can better understand the concept of temperature conversion. With practice, they can quickly and accurately convert temperatures between Celsius and Fahrenheit.
Conclusion
In conclusion, the Reading a Thermometer Worksheet is an excellent tool to help students become familiar with the concept of reading a thermometer. This worksheet helps students learn to read temperature readings, practice basic math skills, and develop a sense of accuracy. It provides an interactive way to engage students in the process of learning and further understand the importance of temperature readings.
[addtoany]
5 photos of the "Reading A Thermometer Worksheet"
Related posts of "Reading A Thermometer Worksheet"
Substitution Method Worksheet Answers
Explaining the Basics of the Substitution Method Worksheet for Math Problem-SolvingThe Substitution Method is a powerful tool for solving linear systems of equations. It involves solving one equation for one of its variables, then substituting the result into the other equation. This method can be used to solve any system of two linear equations in...
![83 [Pdf] Algebra 1 Worksheets With Answers Pdf Printable Zip Docx intended for Solving For Y Worksheet](https://worksheet1.wp-json.my.id/wp-content/uploads/2023/02/83-pdf-algebra-1-worksheets-with-answers-pdf-printable-zip-docx-intended-for-solving-for-y-worksheet-150x150.png)
Solving For Y Worksheet
How to Use Solving For Y Worksheets to Better Understand Algebraic Concepts Solving for Y worksheets are an effective and useful tool for helping students better understand the principles of algebraic equations. These worksheets provide a variety of exercises and problems that allow students to practice and gain a greater understanding of the concepts they...
Finding Angle Measures Worksheet
How to Use a Finding Angle Measures Worksheet to Quickly Brush Up on TrigonometryA finding angle measures worksheet is a great tool for quickly brushing up on trigonometry. These worksheets offer students practice in identifying and calculating the measures of angles in a variety of situations. By working through a range of problems, students can...
Photosynthesis And Respiration Worksheet
How to Use a Photosynthesis and Respiration Worksheet to Teach Kids About the ProcessesTeaching children about photosynthesis and respiration is an important part of any science curriculum. A photosynthesis and respiration worksheet can be a helpful tool for engaging students and helping them to understand these complex processes. When using a photosynthesis and respiration worksheet,...